


+++ AKTUELL +++
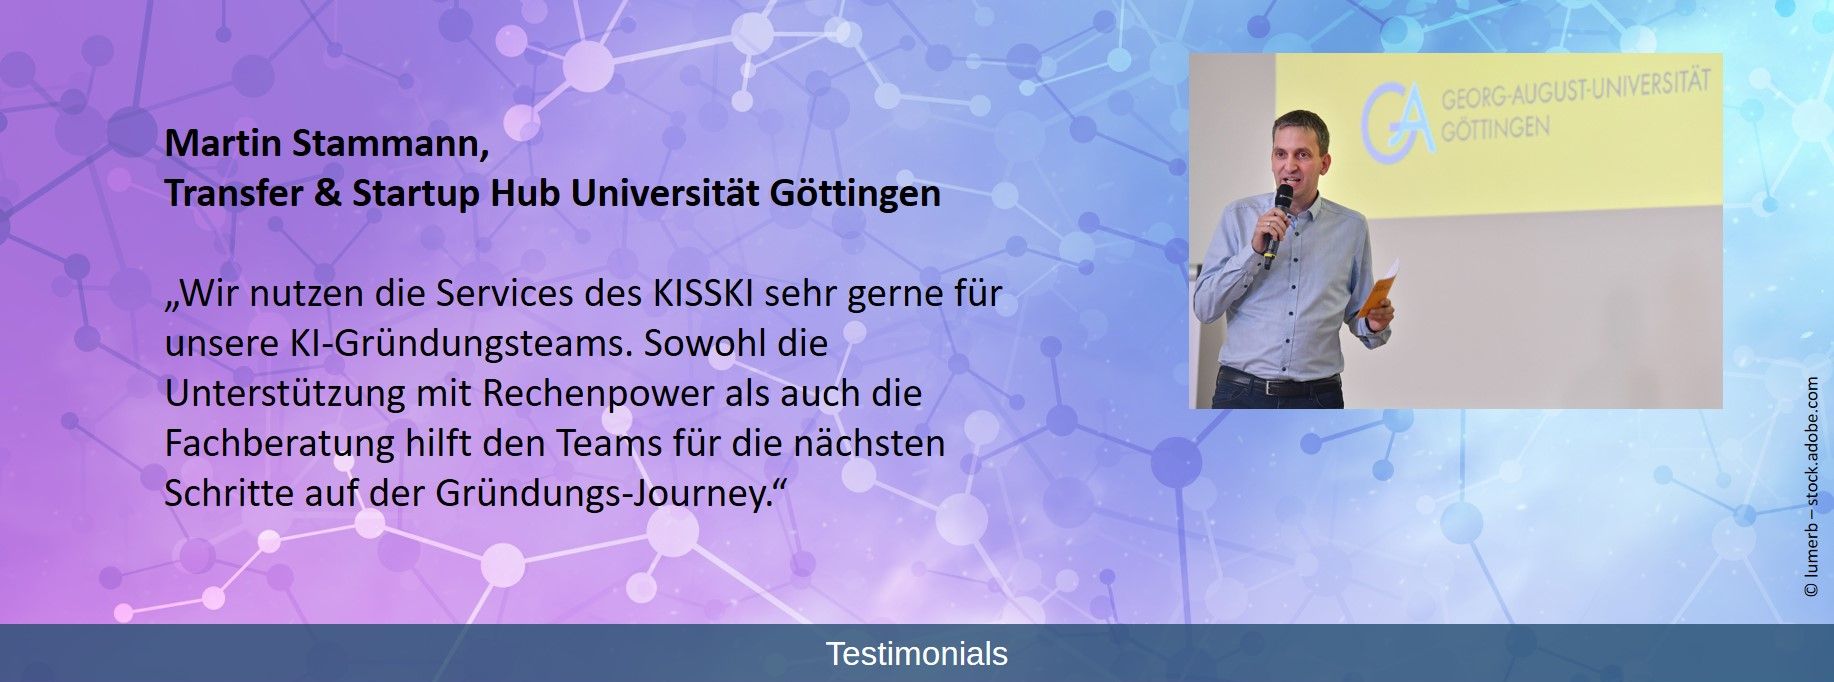
Erfolgsgeschichten
Prof. Dr. Friedel Mager,
Vizepräsident Studium und Lehre, Rheinische Hochschule Köln
“Developer Communities und globale Konzerne liefern sich derzeit ein Wettrennen um die Leistungsfähigkeit ihrer KI-Modelle. Als Hochschule ist es uns wichtig, KI-Instrumente herstellerübergreifend und flexibel anbieten zu können.”
[mehr]
+++ AKTUELL +++
Einführung in KISSKI
Neugierig auf KISSKI? Unsere Online-Einführung bietet die Gelegenheit, sich unverbindlich zu informieren und Fragen zu stellen.
Nächster Termin: Mittwoch, 25.06.2025 - 13:00
Mission
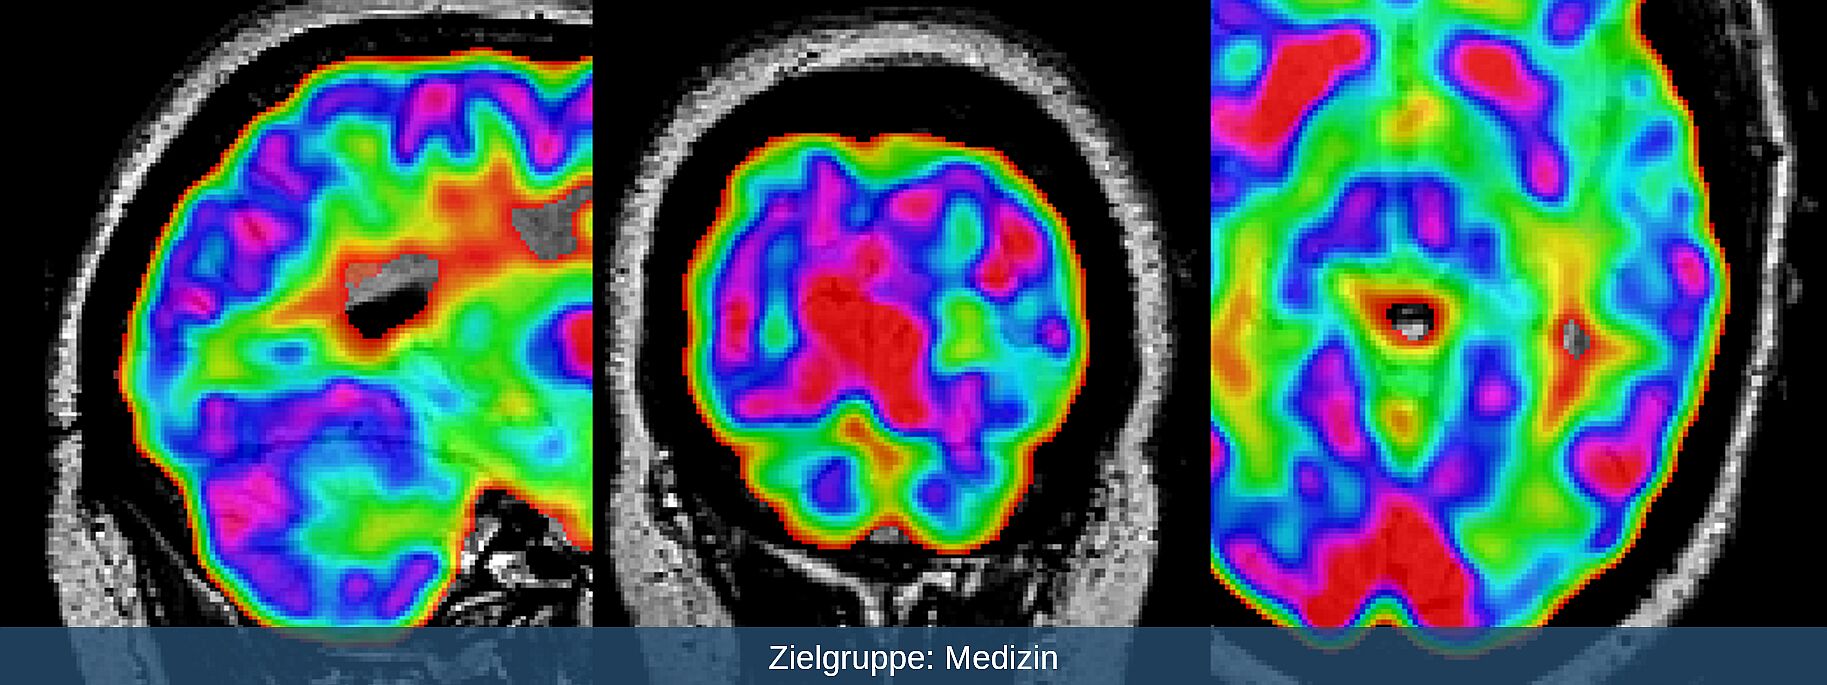
Das zentrale Anliegen von KISSKI ist die Forschung an KI-Methoden und deren Bereitstellung in einem hochverfügbaren KI-Servicezentrum für kritische und sensible Infrastrukturen. Der Fokus liegt dabei auf den gesellschaftlich hoch relevanten Feldern Medizin und Energie. Diese gehören zu den Zukunftsfeldern der anwendungsbezogenen KI-Forschung in Deutschland. [mehr]
Leistungen
Mit unserem Servicezentrum bieten wir umfangreiche Leistungen, um KI-Methoden und Expertenwissen für die praktische Anwendung insbesondere für KMUs und Start-ups zugänglich zu machen. Der Service reicht dabei von der Bereitstellung umfangreicher Hard- und Software-Ressourcen über Beratungs- und Entwicklungs-Dienstleistungen bis zu einem breiten Schulungsangebot und Material für SchülerInnen. [mehr]
Zielgruppen
Mit unseren Services richten wir uns zunächst an Nutzende in den Bereichen Medizin / Gesundheit und Energie, sind aber auch für andere Bereiche offen. Insbesondere möchten wir KMUs sowie Start-ups mit Bedarf an KI-Expertise und -Infrastruktur ansprechen. Auch Institutionen und Forschungseinrichtungen ohne ausreichende eigene KI-Ressourcen gehören zur Zielgruppe. [mehr]
KI-Servicezentren
KISSKI ist eines von vier KI-Servicezentren, die seit November 2022 vom Bundesministerium für Forschung, Technologie und Raumfahrt (BMFTR) gefördert werden. Das Ziel dieser KI-Servicezentren ist, die KI-Forschung in Deutschland voranzutreiben und den breiten Transfer in Anwendungen zu fördern. [mehr]


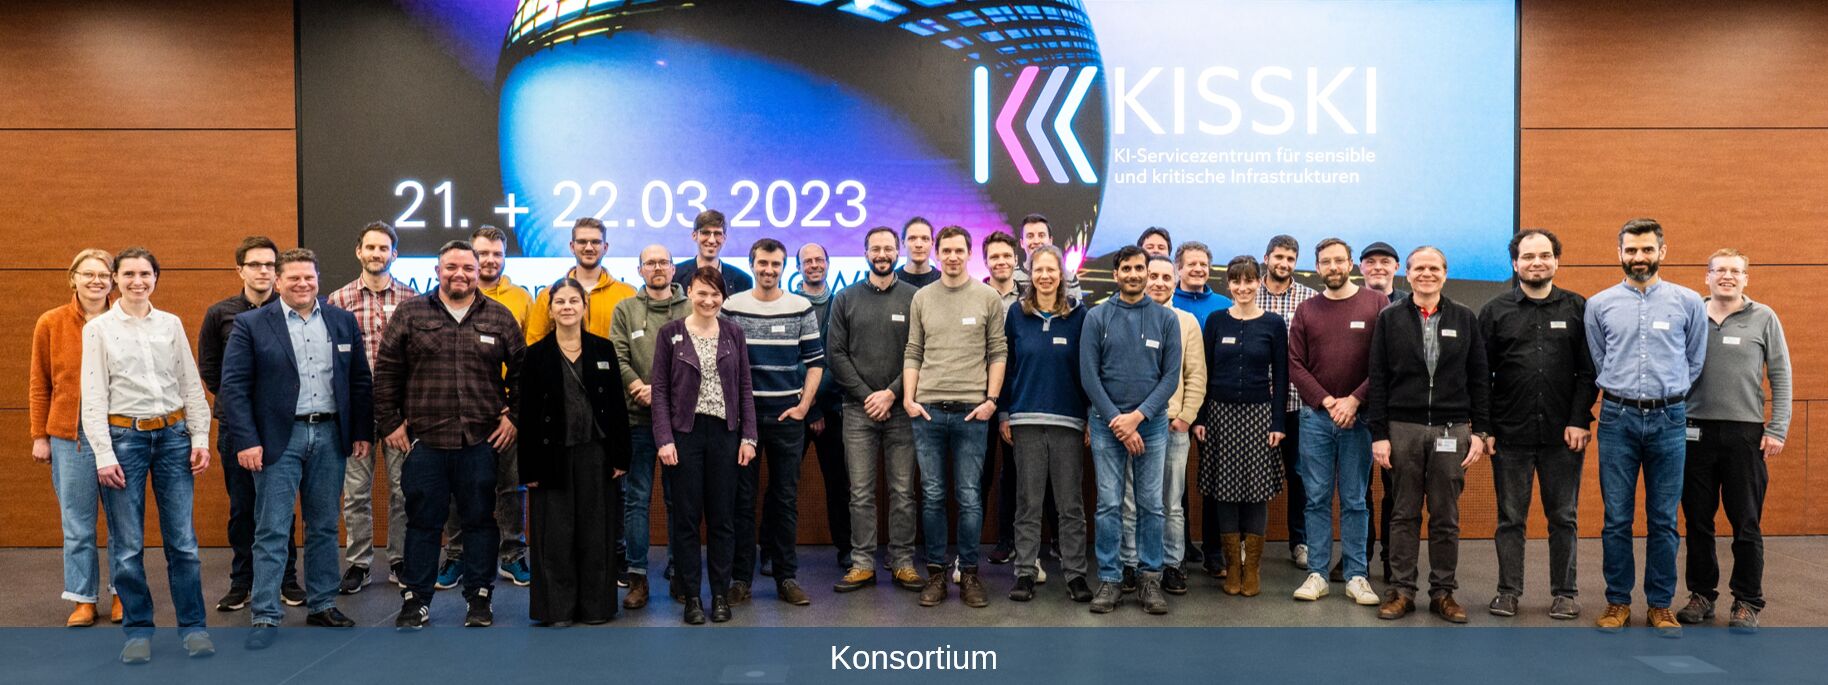
Konsortium
Partner an den Standorten Göttingen, Hannover und Kassel haben sich zum KISSKI-Konsortium zusammengeschlossen. Ihre Kernkompetenzen in den Bereichen KI-Infrastruktur, KI-Methoden, Medizin und Energie ergänzen sich ideal. [mehr]